JavaFX文本域(輸入框)
TextField用於單行文本輸入。請看下面的示例 -
import javafx.application.Application;
import javafx.geometry.Insets;
import javafx.scene.Group;
import javafx.scene.Scene;
import javafx.scene.control.Label;
import javafx.scene.control.TextField;
import javafx.scene.layout.GridPane;
import javafx.stage.Stage;
// at W  w w .1ju.org
public class Main extends Application {
  public static void main(String[] args) {
    launch(args);
  }
  @Override
  public void start(Stage stage) {
    Scene scene = new Scene(new Group(), 450, 250);

    TextField notification = new TextField ();
    notification.setText("Label");

    notification.clear();

    GridPane grid = new GridPane();
    grid.setVgap(4);
    grid.setHgap(10);
    grid.setPadding(new Insets(5, 5, 5, 5));
    grid.add(new Label("To: "), 0, 0);
    grid.add(notification, 1, 0);

    Group root = (Group) scene.getRoot();
    root.getChildren().add(grid);
    stage.setScene(scene);
    stage.show();
  }
}TextField和Password字段擴展了TextInput類,它是JavaFX中所有文本控件的超類。
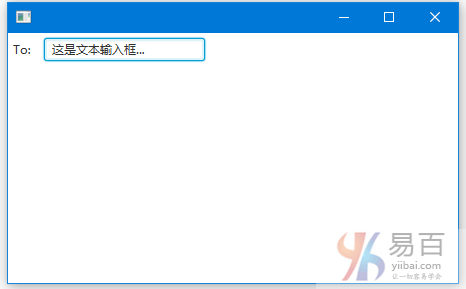
上面的代碼生成以下結果。

創建文本域
我們可以使用TextField類的構造函數來創建文本字段。
TextField只是一個帶有光標的文本輸入框,通常我們需要一個Label控件來告訴文本字段的目的。以下代碼創建一個Label控件來標記對應的文本字段是用於名稱輸入。然後它創建一個TextField對象。之後,它使用HBox佈局Label和TextField。
Label label1 = new Label("Name:");
TextField textField = new TextField ();
HBox hb = new HBox();
hb.getChildren().addAll(label1, textField);
hb.setSpacing(10);
使用預定義文本創建文本字段。
TextField textField = new TextField("1ju.org")TextField文本
要從文本字段獲取值,請調用getText()方法。
從TextInput的setPrefColumnCount方法設置文本字段的大小。 通過設置一次可以顯示的最大字符數。
我們可以使用提示字幕通知用戶文本字段的用途。setPromptText()方法定義顯示在文本字段中的字符串。無法通過getText()方法獲取提示文本。
以下代碼顯示如何設置TextField的提示文本
import javafx.application.Application;
import javafx.geometry.Insets;
import javafx.scene.Group;
import javafx.scene.Scene;
import javafx.scene.control.TextField;
import javafx.scene.layout.GridPane;
import javafx.stage.Stage;
// by  w W w. 1ju .org
public class Main extends Application {

  @Override
  public void start(Stage stage) {
    Group root = new Group();
    Scene scene = new Scene(root, 300, 150);
    stage.setScene(scene);
    stage.setTitle("Text Field Sample");

    GridPane grid = new GridPane();
    grid.setPadding(new Insets(10, 10, 10, 10));
    grid.setVgap(5);
    grid.setHgap(5);

    scene.setRoot(grid);

    final TextField name = new TextField();
    name.setPromptText("Enter your first name.");
    name.setPrefColumnCount(10);
    name.getText();
    GridPane.setConstraints(name, 0, 0);
    grid.getChildren().add(name);


    stage.show();
  }

  public static void main(String[] args) {
    launch(args);
  }
}
以下列表有一些有用的方法,可以使用它們在文本字段中進行文本編輯。
-
copy()- 將所選文本設置爲剪貼板。 -
cut()- 將所選文本設置爲剪貼板並刪除當前選擇。 -
selectAll()- 選擇文本輸入中的所有文本。 -
paste()- 將剪貼板中的內容設置爲此文本並替換當前選擇。
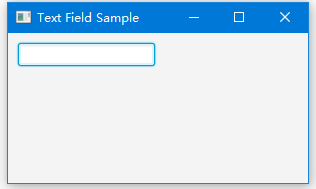
上面的代碼生成以下結果。

示例-1
以下代碼顯示如何將字符串值從TextField綁定到Stage Title。
import javafx.application.Application;
import javafx.beans.property.SimpleStringProperty;
import javafx.beans.property.StringProperty;
import javafx.scene.Scene;
import javafx.scene.control.Label;
import javafx.scene.control.TextField;
import javafx.scene.layout.HBox;
import javafx.stage.Stage;

public class Main extends Application {
  StringProperty title = new SimpleStringProperty();

  public static void main(String[] args) {
    Application.launch(args);
  }

  @Override
  public void start(Stage stage) {
    TextField titleTextField;
    titleTextField = new TextField();
    titleTextField.setText("Stage Coach");
    titleTextField.setPrefColumnCount(15);

    HBox hBox = new HBox();
    hBox.setSpacing(10);
    hBox.getChildren().add(new Label("title:"));
    hBox.getChildren().add(titleTextField);

    Scene scene  = new Scene(hBox,270,270);
    title.bind(titleTextField.textProperty());

    stage.setScene(scene);
    stage.titleProperty().bind(title);


    stage.show();
  }
}
上面的代碼生成以下結果。

實例-2
以下代碼顯示瞭如何將ContextMenu添加到TextField。
import javafx.application.Application;
import javafx.event.ActionEvent;
import javafx.event.EventHandler;
import javafx.geometry.Insets;
import javafx.scene.Group;
import javafx.scene.Scene;
import javafx.scene.control.ContextMenu;
import javafx.scene.control.Label;
import javafx.scene.control.MenuItem;
import javafx.scene.control.TextField;
import javafx.scene.layout.GridPane;
import javafx.stage.Stage;
import javafx.stage.WindowEvent;
public class Main extends Application {
  public static void main(String[] args) {
    launch(args);
  }

  @Override
  public void start(Stage stage) {
    Scene scene = new Scene(new Group(), 450, 250);

    TextField notification = new TextField();

    final ContextMenu contextMenu = new ContextMenu();
    contextMenu.setOnShowing(new EventHandler<WindowEvent>() {
      public void handle(WindowEvent e) {
        System.out.println("showing");
      }
    });
    contextMenu.setOnShown(new EventHandler<WindowEvent>() {
      public void handle(WindowEvent e) {
        System.out.println("shown");
      }
    });

    MenuItem item1 = new MenuItem("About");
    item1.setOnAction(new EventHandler<ActionEvent>() {
      public void handle(ActionEvent e) {
        System.out.println("About");
      }
    });
    MenuItem item2 = new MenuItem("Preferences");
    item2.setOnAction(new EventHandler<ActionEvent>() {
      public void handle(ActionEvent e) {
        System.out.println("Preferences");
      }
    });
    contextMenu.getItems().addAll(item1, item2);

    notification.setContextMenu(contextMenu);
    GridPane grid = new GridPane();
    grid.setVgap(4);
    grid.setHgap(10);
    grid.setPadding(new Insets(5, 5, 5, 5));
    grid.add(new Label("To: "), 0, 0);
    grid.add(notification, 1, 0);

    Group root = (Group) scene.getRoot();
    root.getChildren().add(grid);
    stage.setScene(scene);
    stage.show();
  }
}
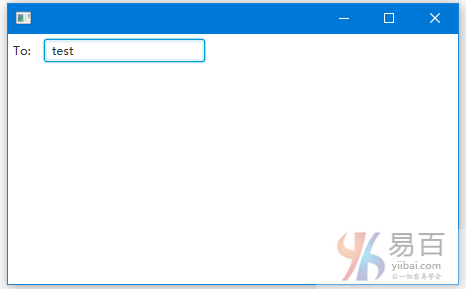
上面的代碼生成以下結果。

實例-3
覆蓋replaceText和replaceSelection以創建自定義的TextField,如下所示 -
import javafx.application.Application;
import javafx.scene.Group;
import javafx.scene.Scene;
import javafx.scene.control.TextField;
import javafx.scene.paint.Color;
import javafx.stage.Stage;

public class Main extends Application {
  public static void main(String[] args) {
    Application.launch(args);
  }

  @Override
  public void start(Stage primaryStage) {
    Group root = new Group();
    Scene scene = new Scene(root, 300, 250, Color.WHITE);

    TextField field = new TextField() {
      @Override
      public void replaceText(int start, int end, String text) {
        if (!text.matches("[a-z]")) {
          super.replaceText(start, end, text);
        }
      }

      @Override
      public void replaceSelection(String text) {
        if (!text.matches("[a-z]")) {
          super.replaceSelection(text);
        }
      }
    };

    root.getChildren().add(field);
    primaryStage.setScene(scene);
    primaryStage.show();
  }
}
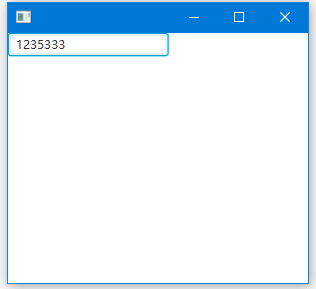
上面的代碼生成以下結果,只能輸入數字值 -
